
Weekend Craft: Bunny Hoop Painting

Bunny Hoop Painting
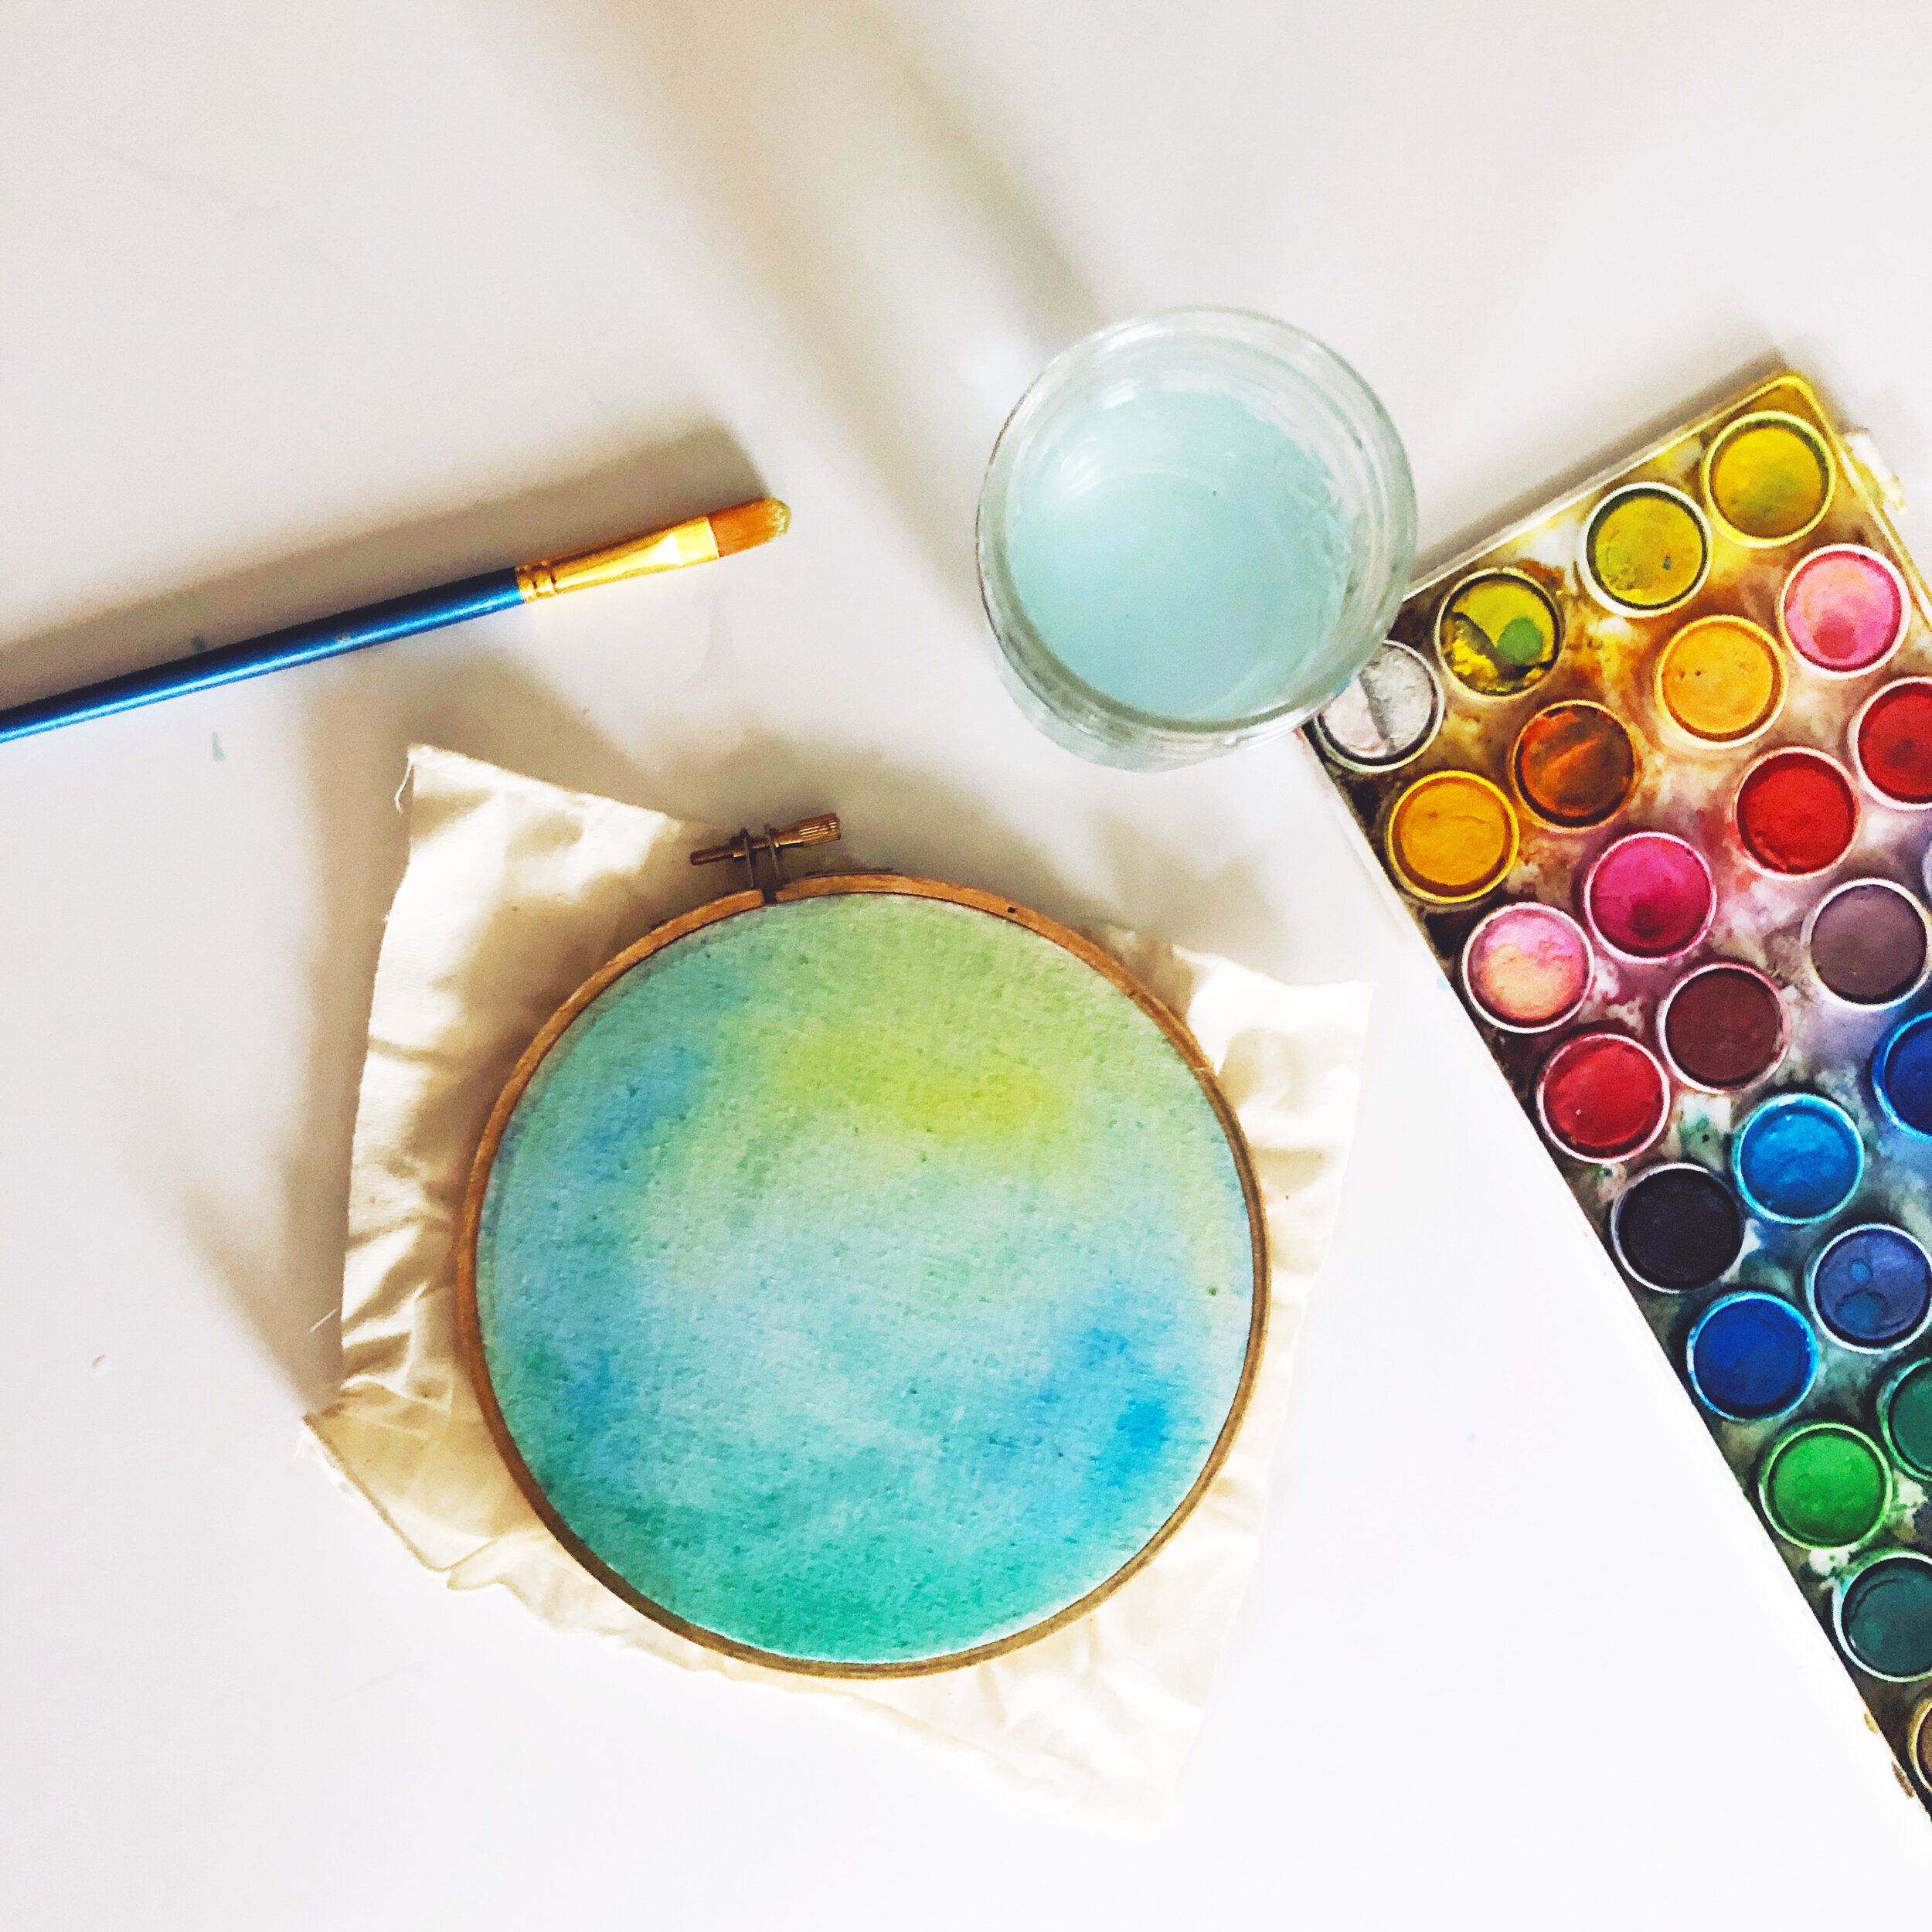
A cute little Bunny craft for your weekend. Practice adding watercolor shadows and painting solid areas of color. You could use fabric as a canvas like I do below, or you could simple work on watercolor paper or anything else you have around! Enjoy!
MATERIALS: light weight fabric, embroidery hoop, water cup, paintbrush, watercolor paint, acrylic paint

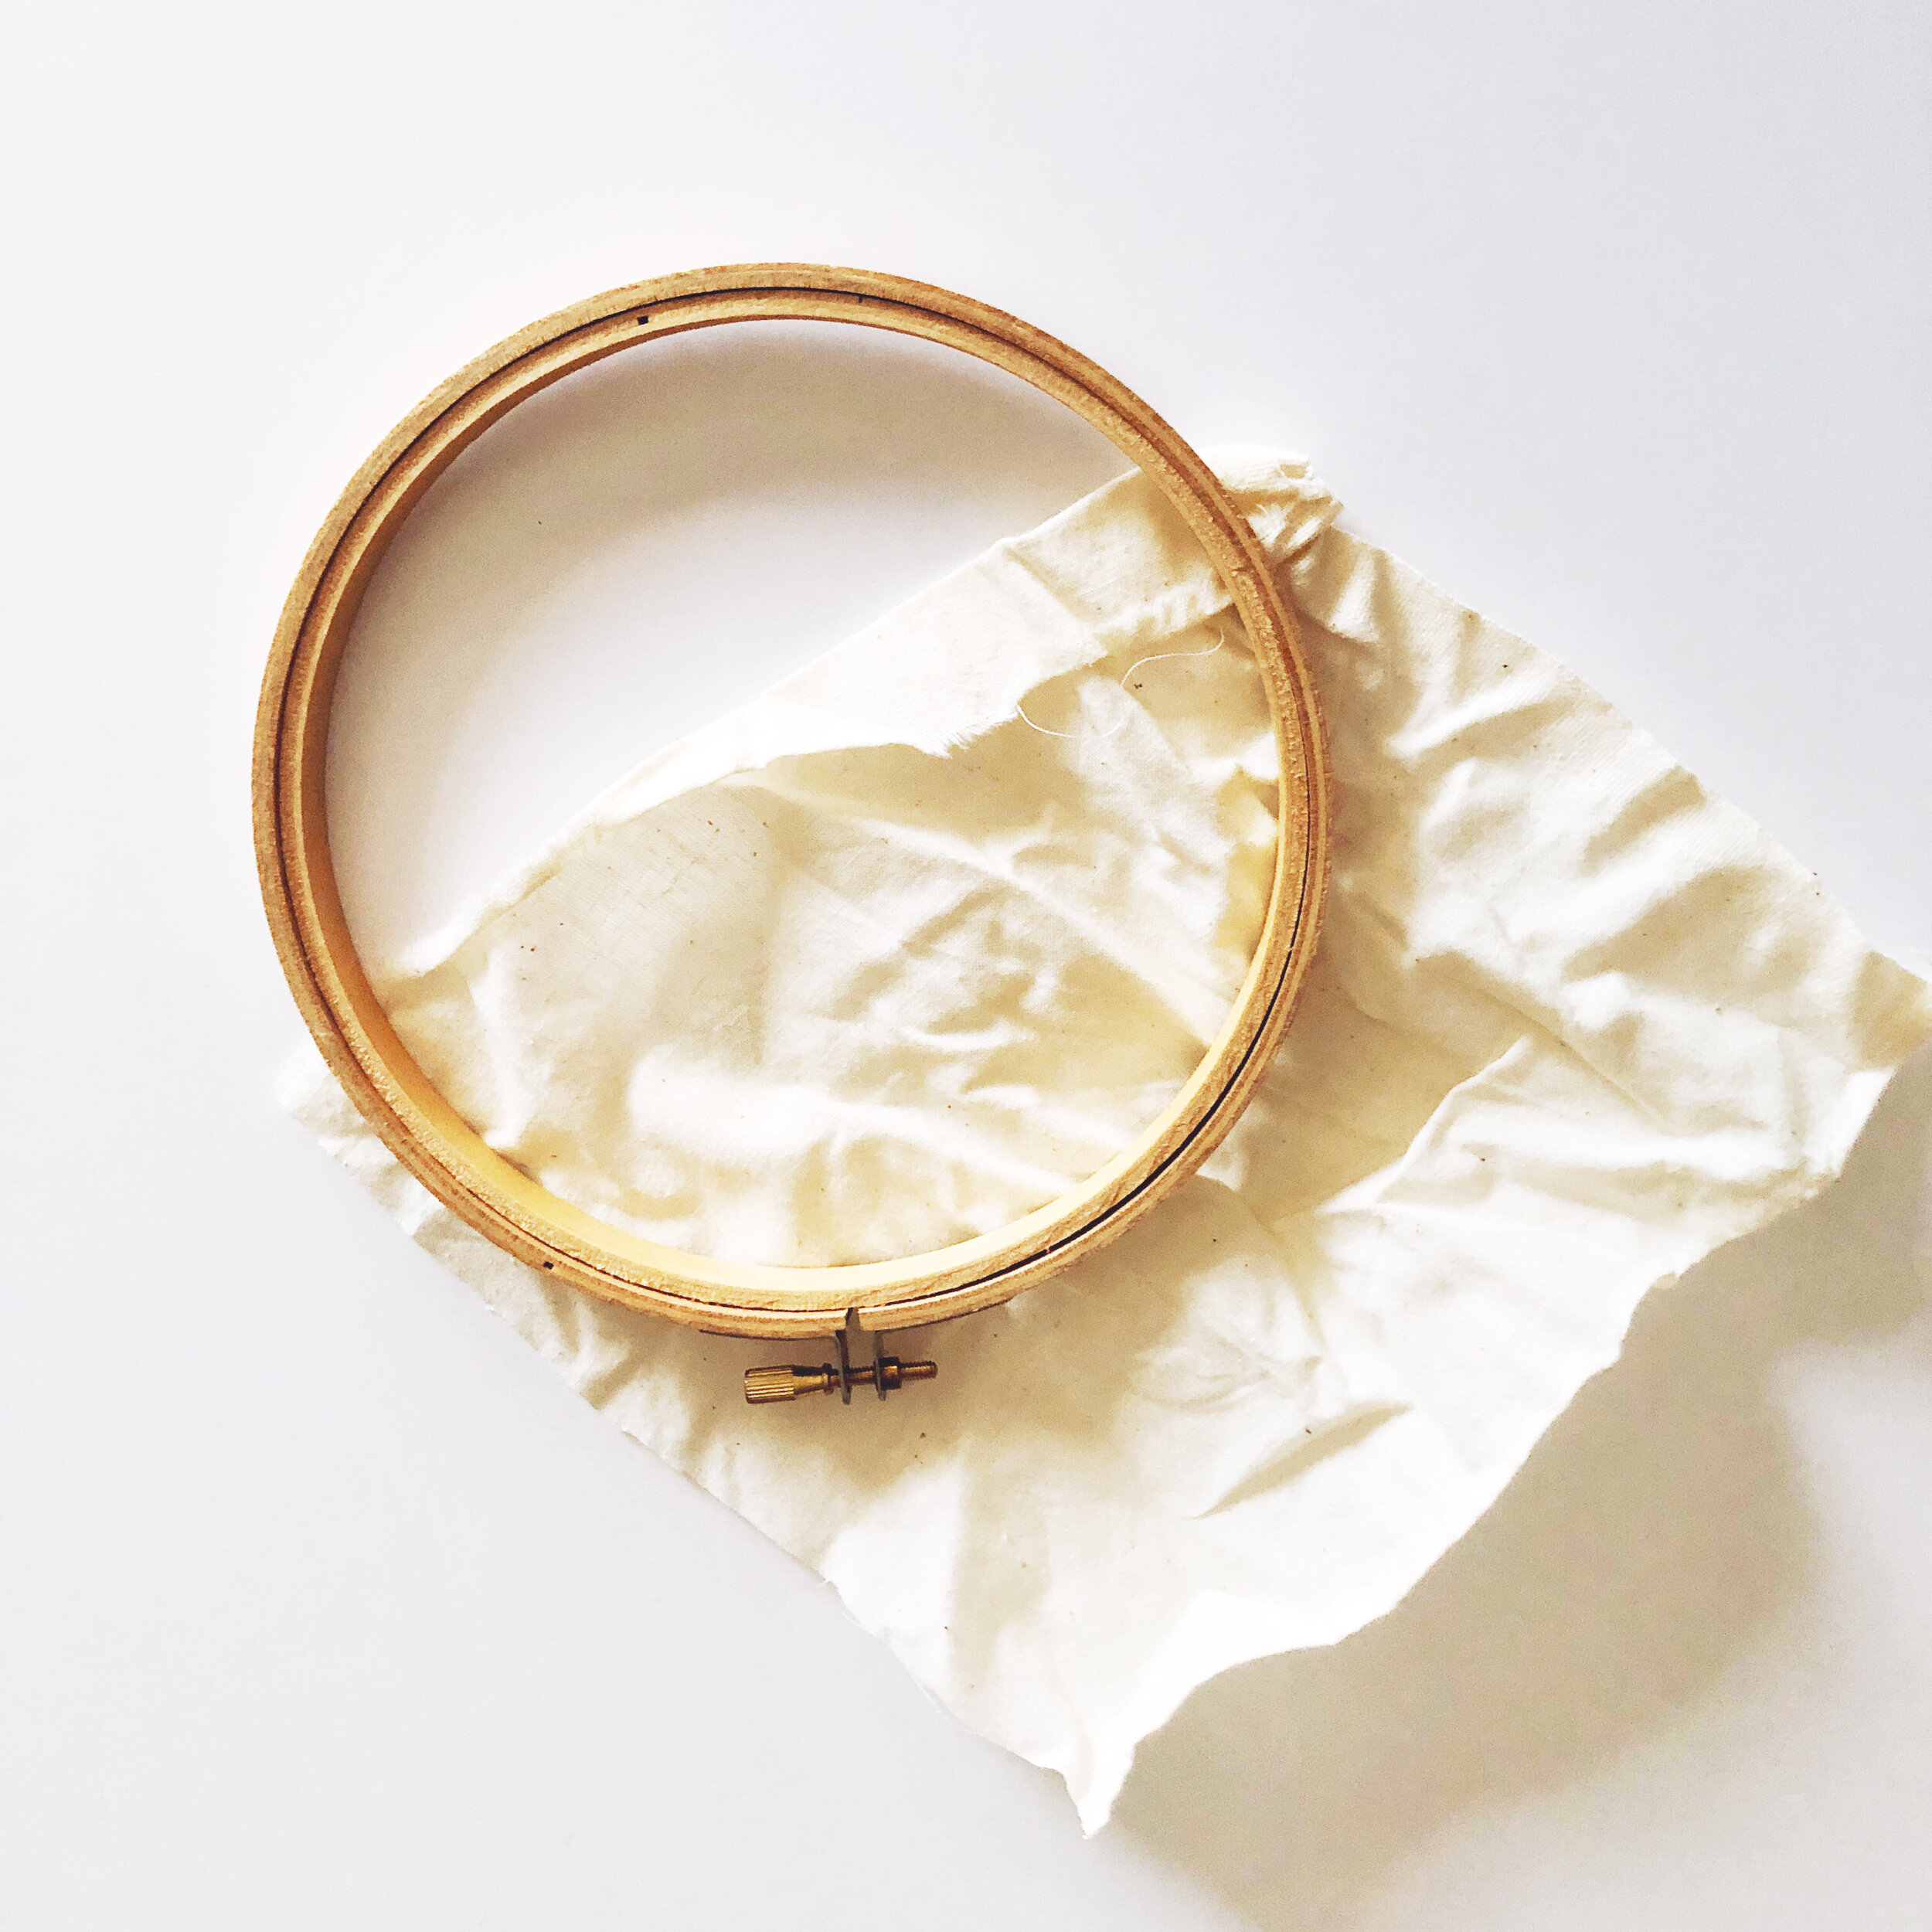
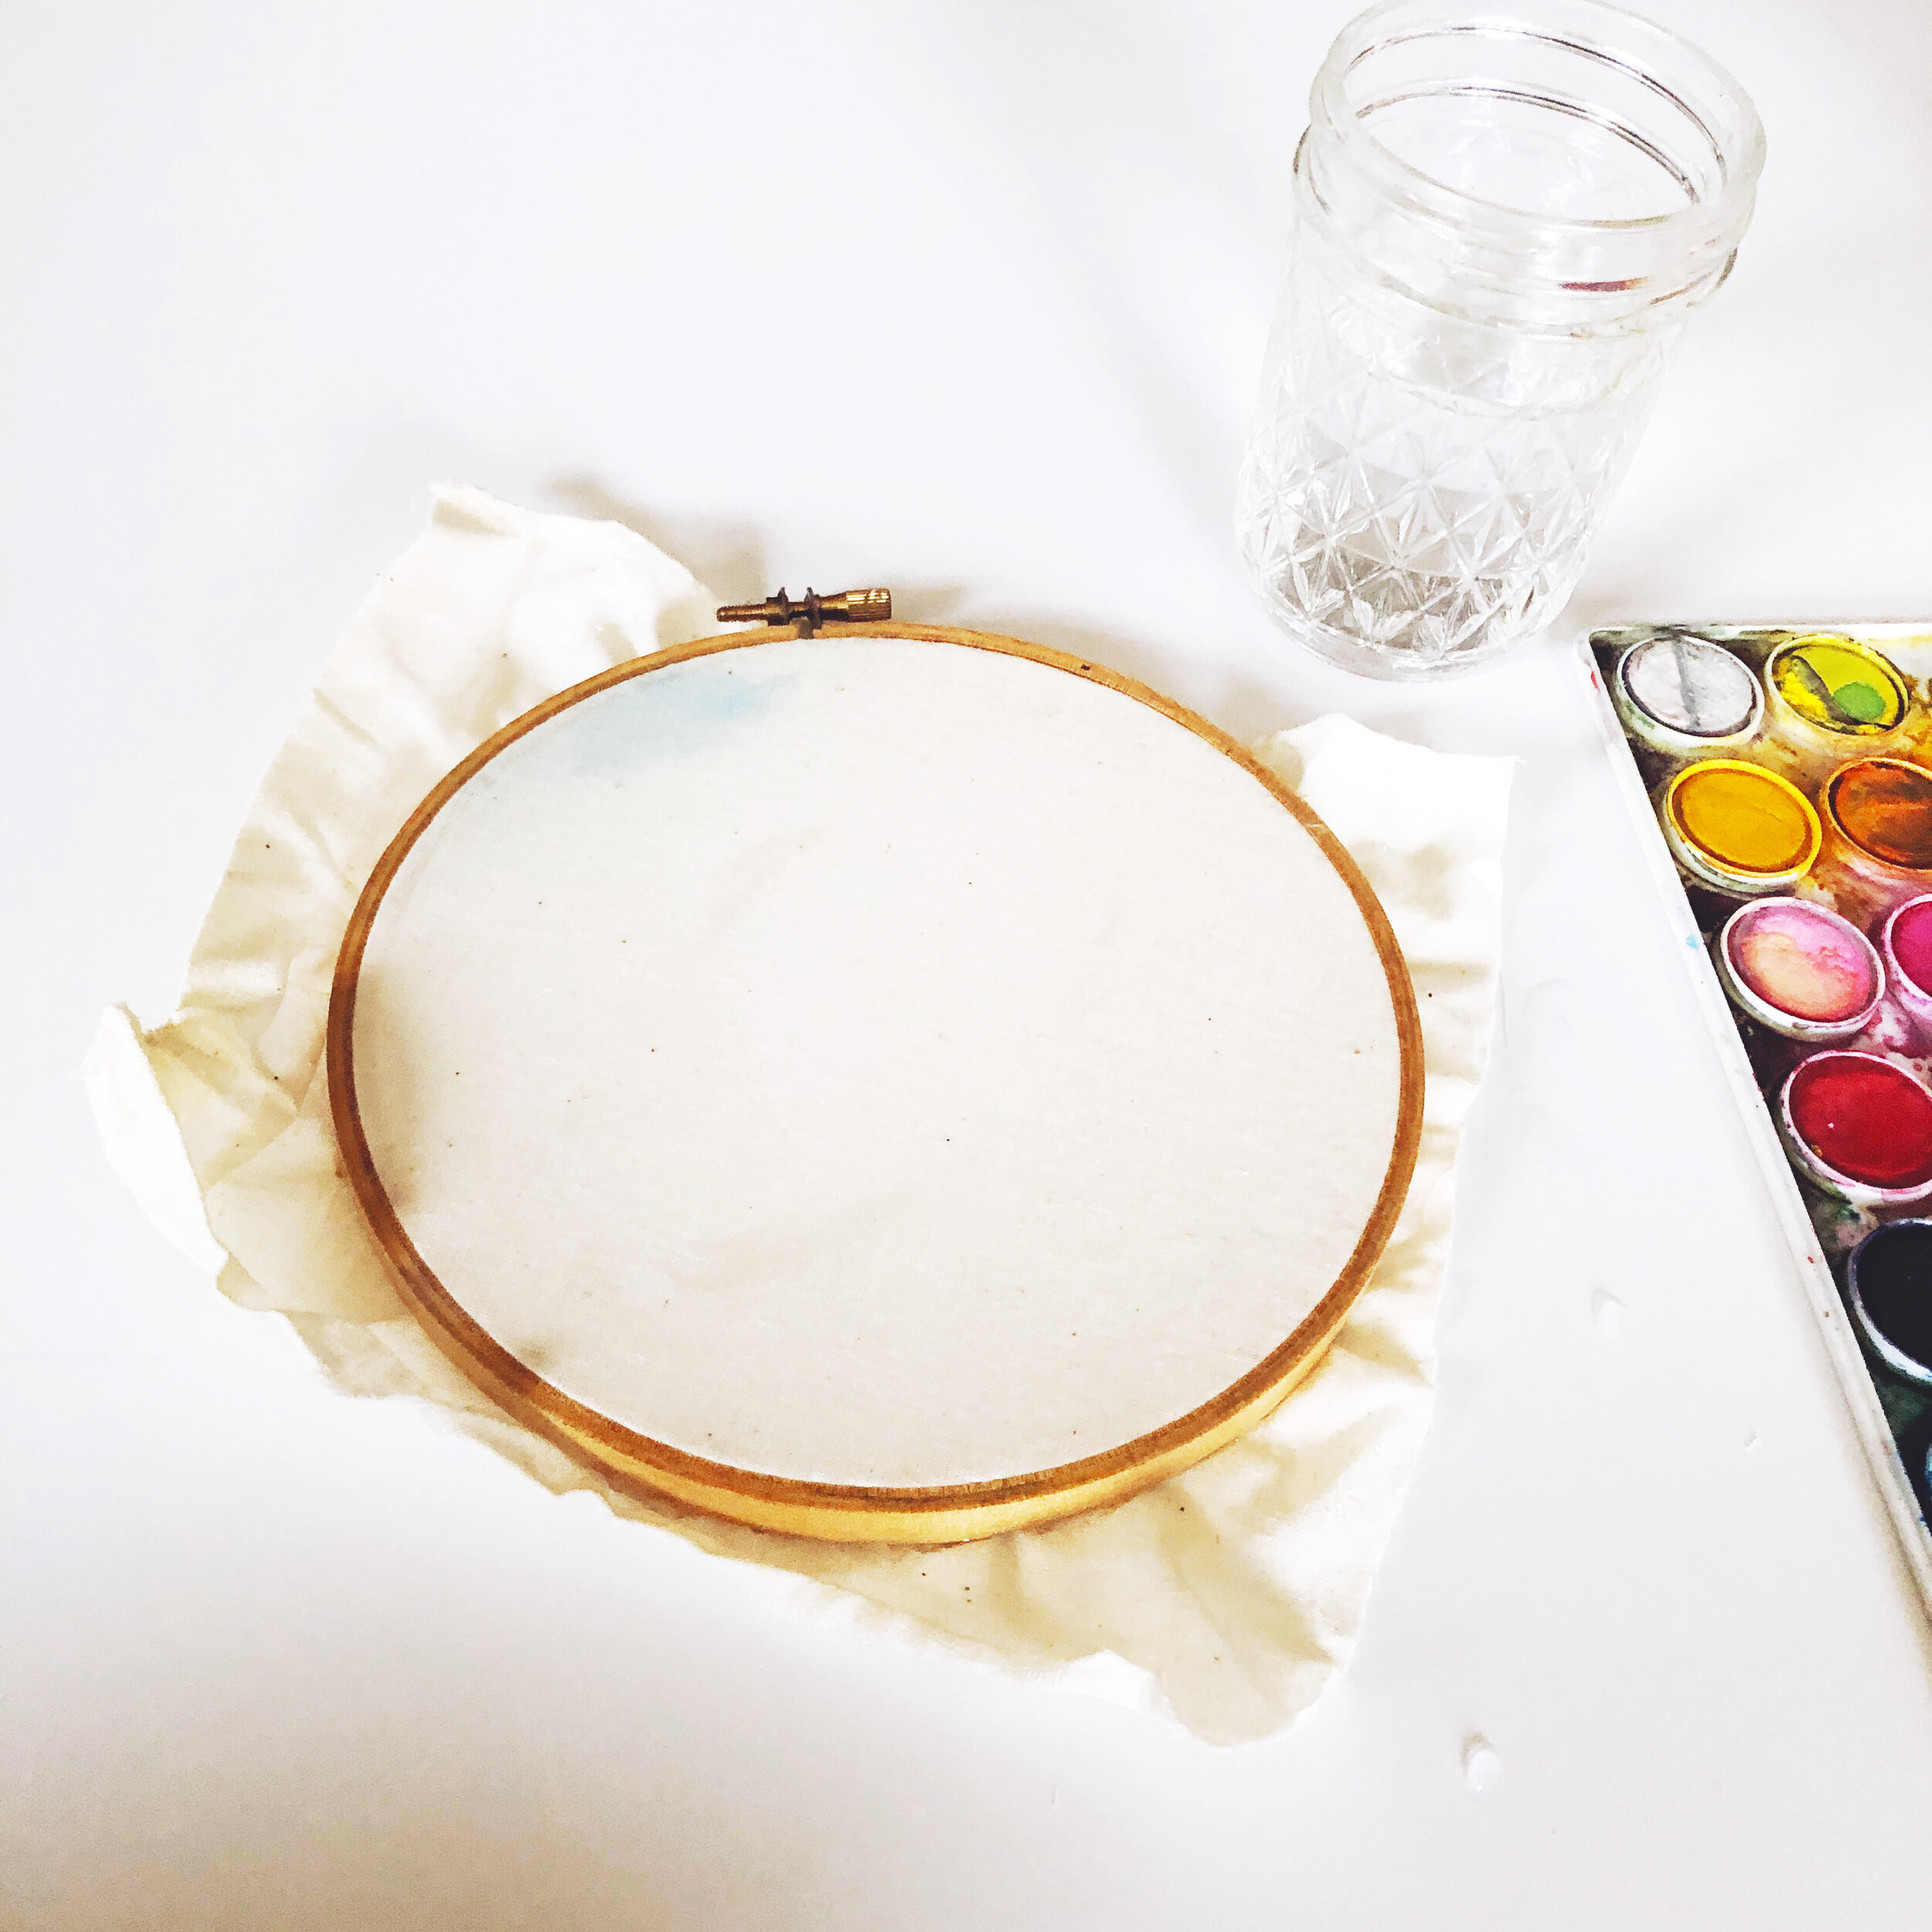
Decide how you’re going to treat your background fabric. Are you going to leave it plain or use watercolor paints to add color? Either way, give your fabric a teeny tiny bit of soap and give it a little sink wash, rinse and squeeze dry. This gets all the sizing out of the fabric and now it will accept watercolor better. Place wet on your hoop, screwing the top to gently tighten and pulling the fabric taught. If you’re leaving the background plain, skip to step 2. If you’re using watercolors, decide on a color palette. Stick to one color or all warm or all cool to avoid getting too mucky. While your fabric is still wet, add watercolors letting the colors float on the fabric, coaxing it around with your brush and making sure there are no harsh lines.
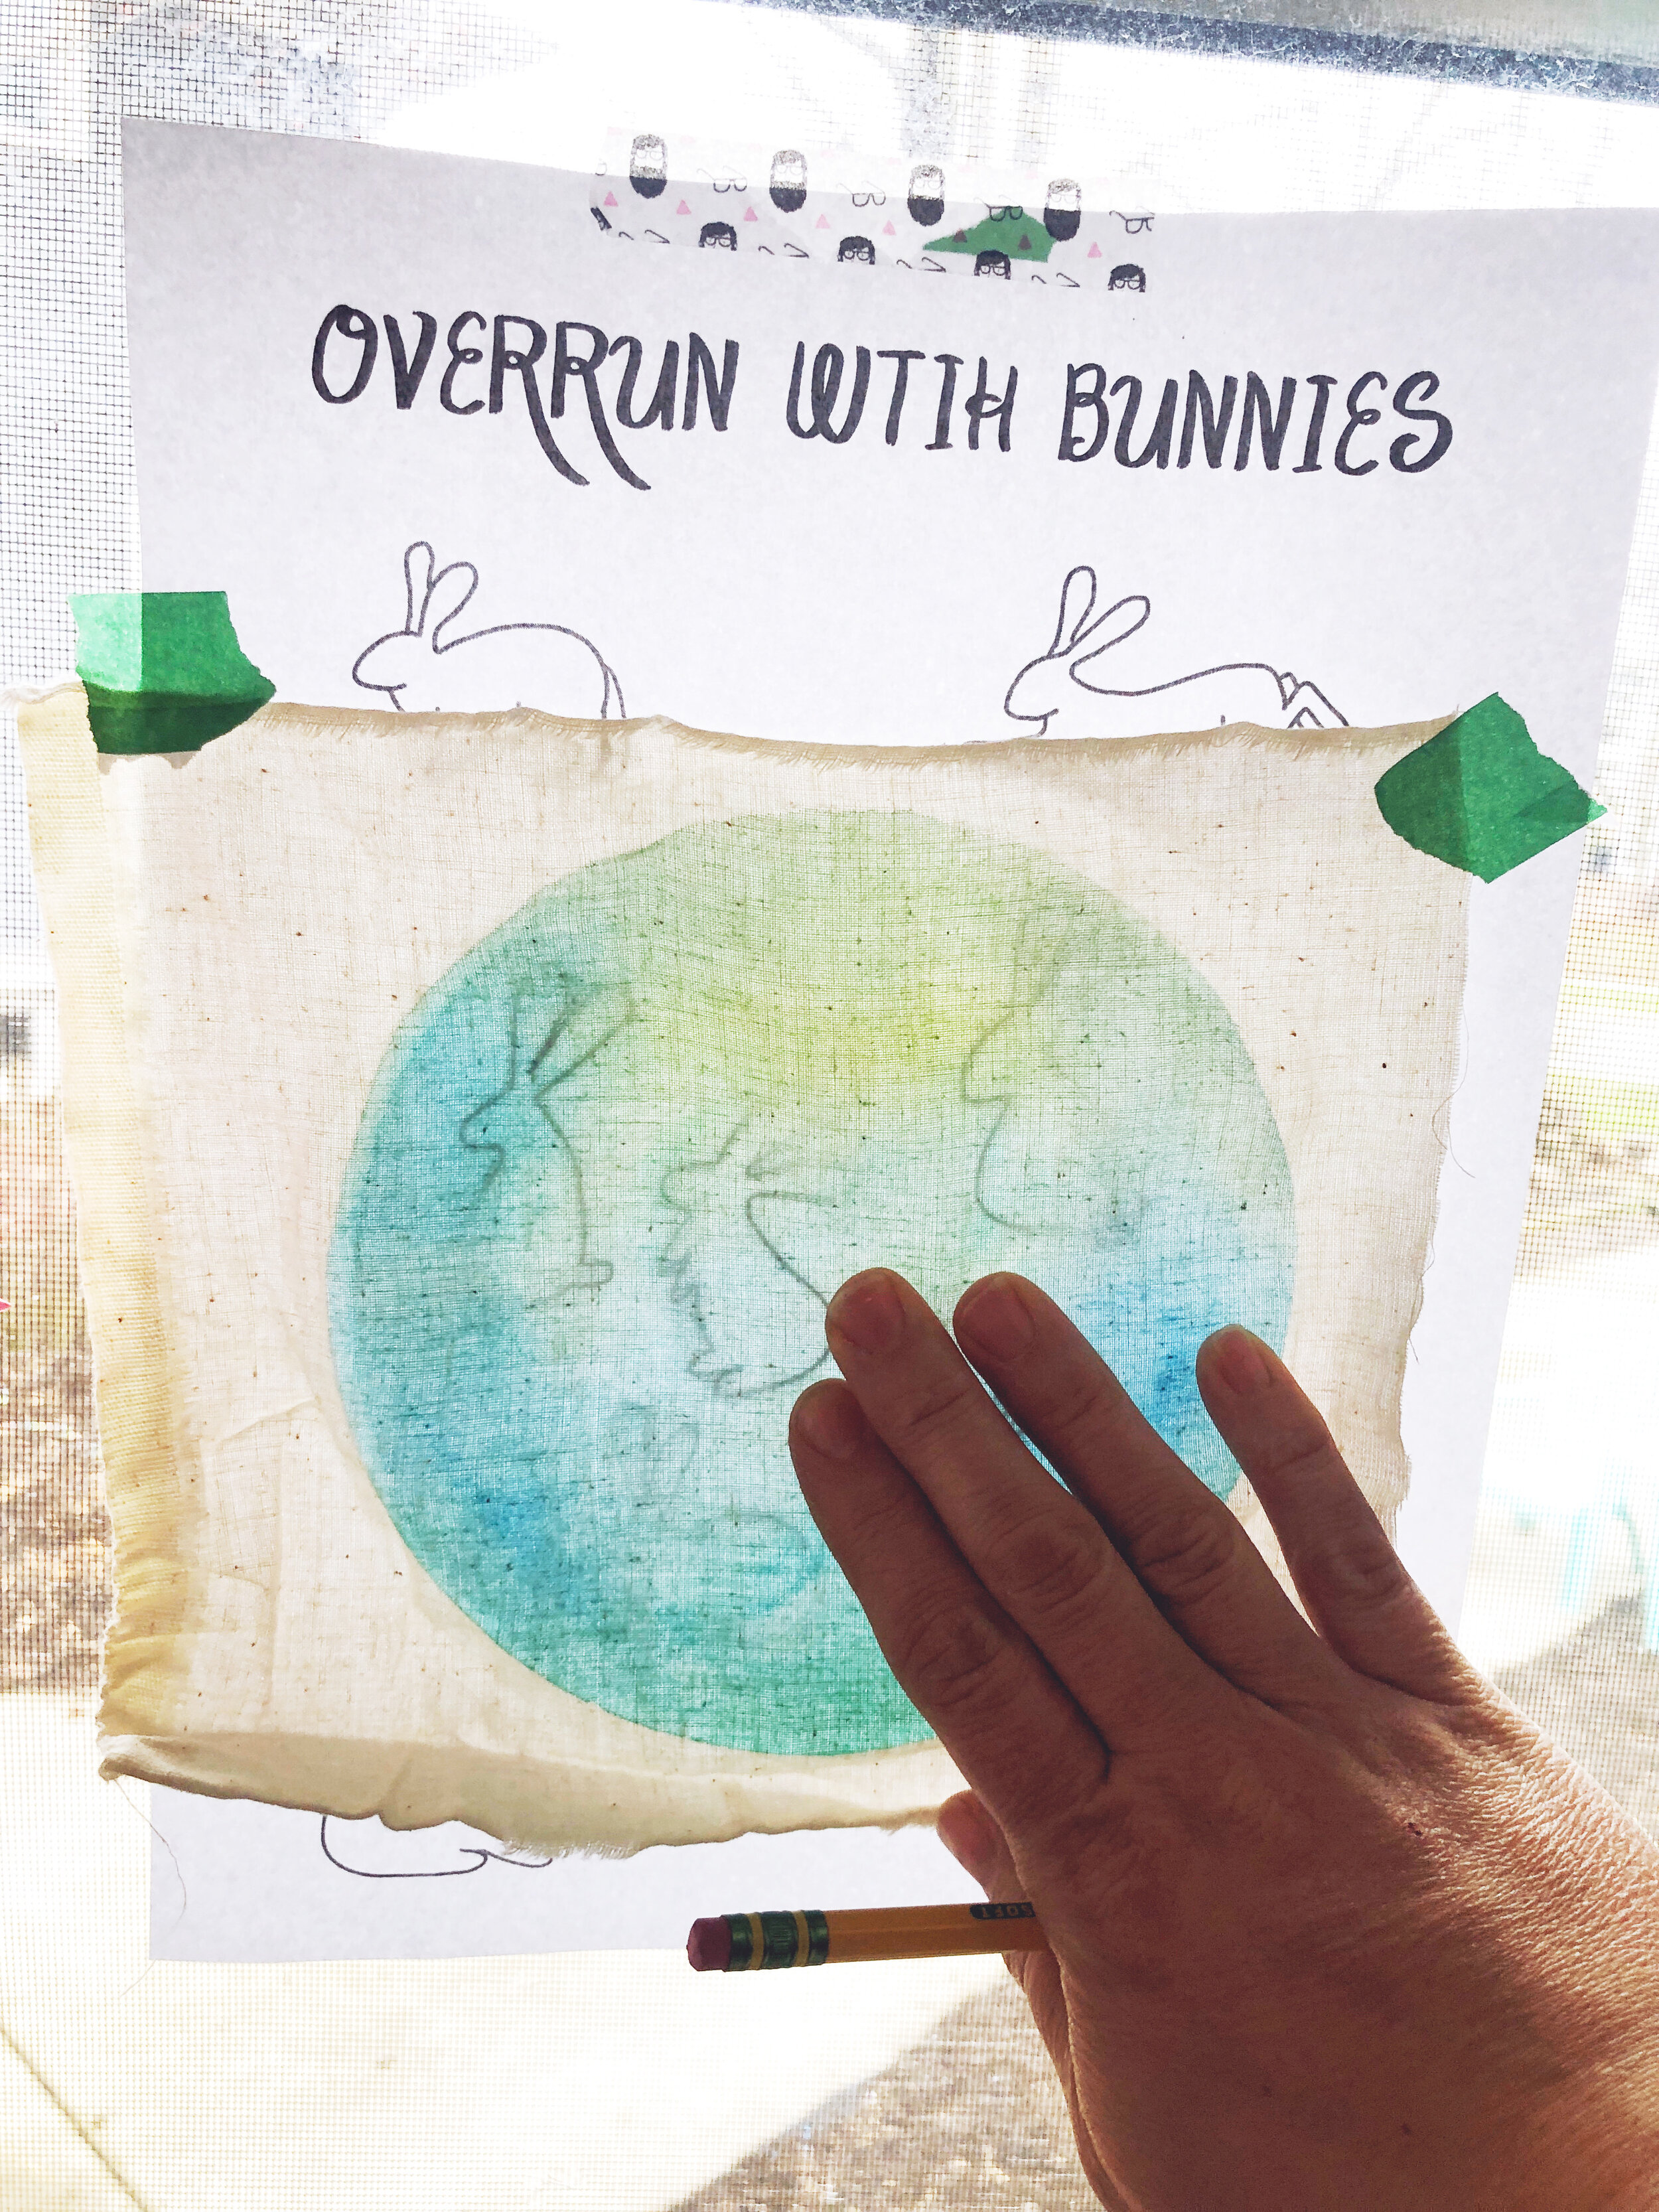
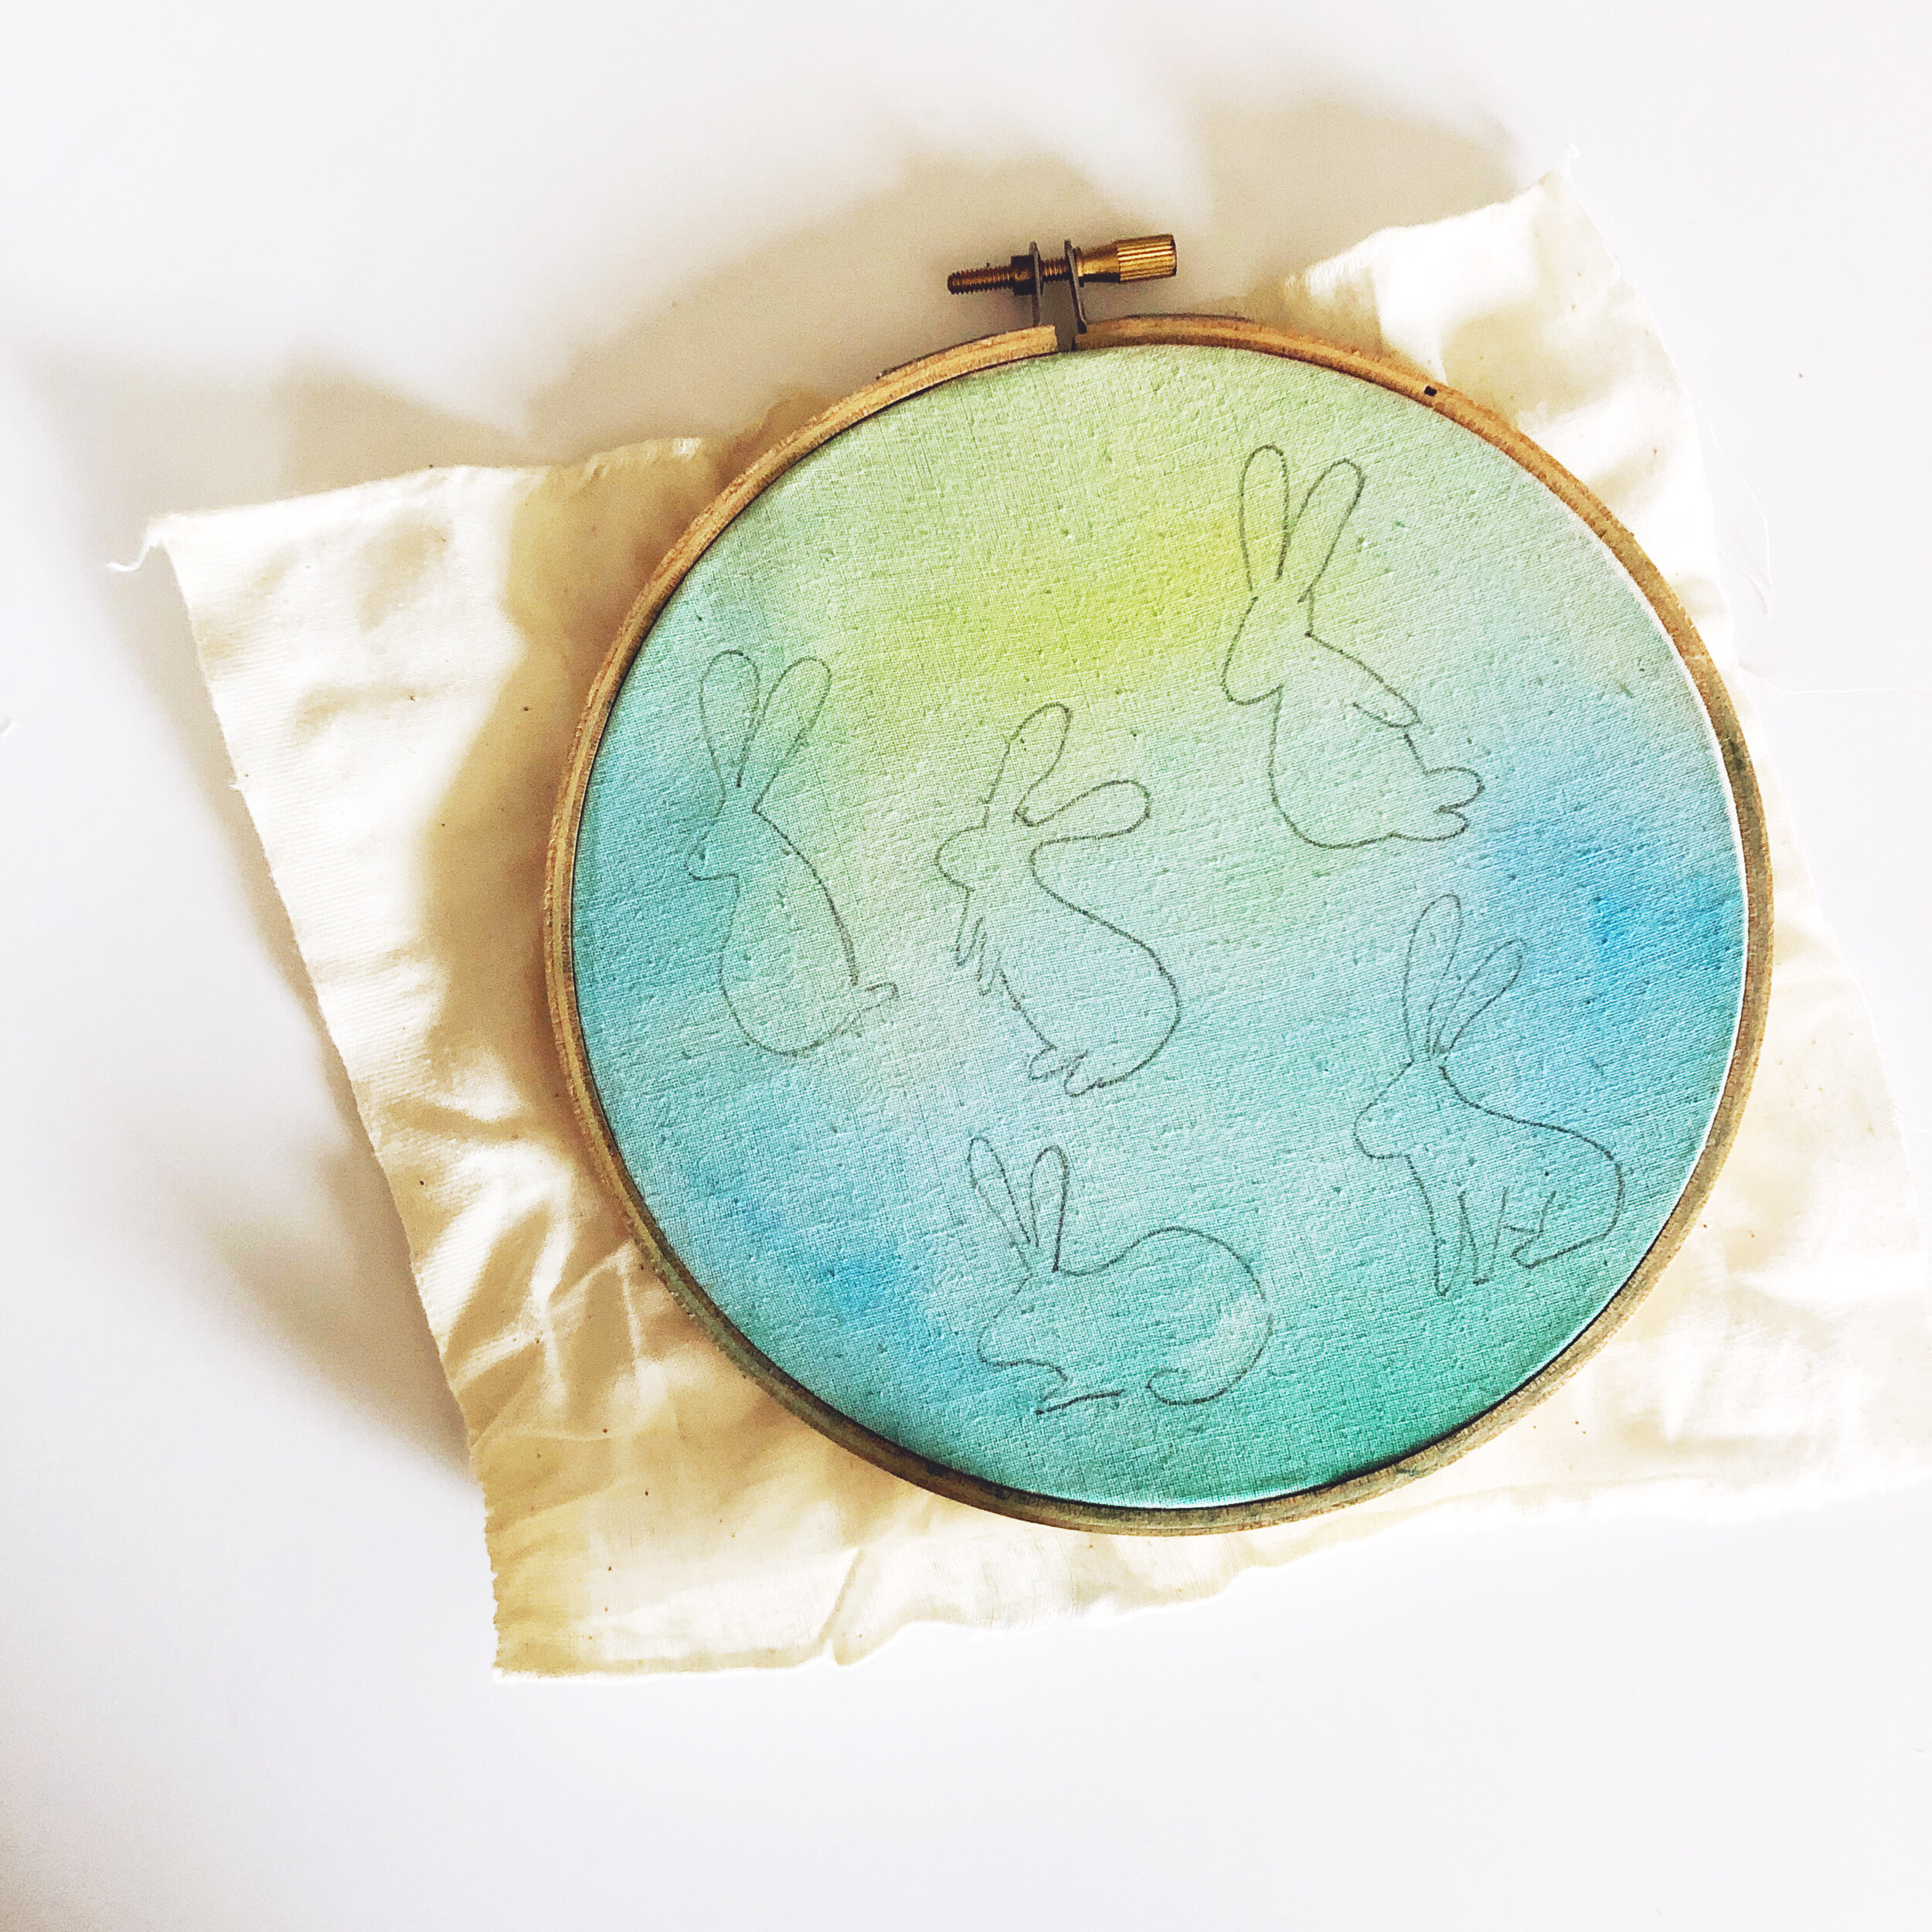
Dry your fabric. If you’re impatient, use a hairdryer. Take the pattern below and tape to a window . Remove your fabric and place overtop of the pattern (or draw your own!) Trace using pencil and put back on the hoop.
Find the pattern here on my google drive, click HERE.

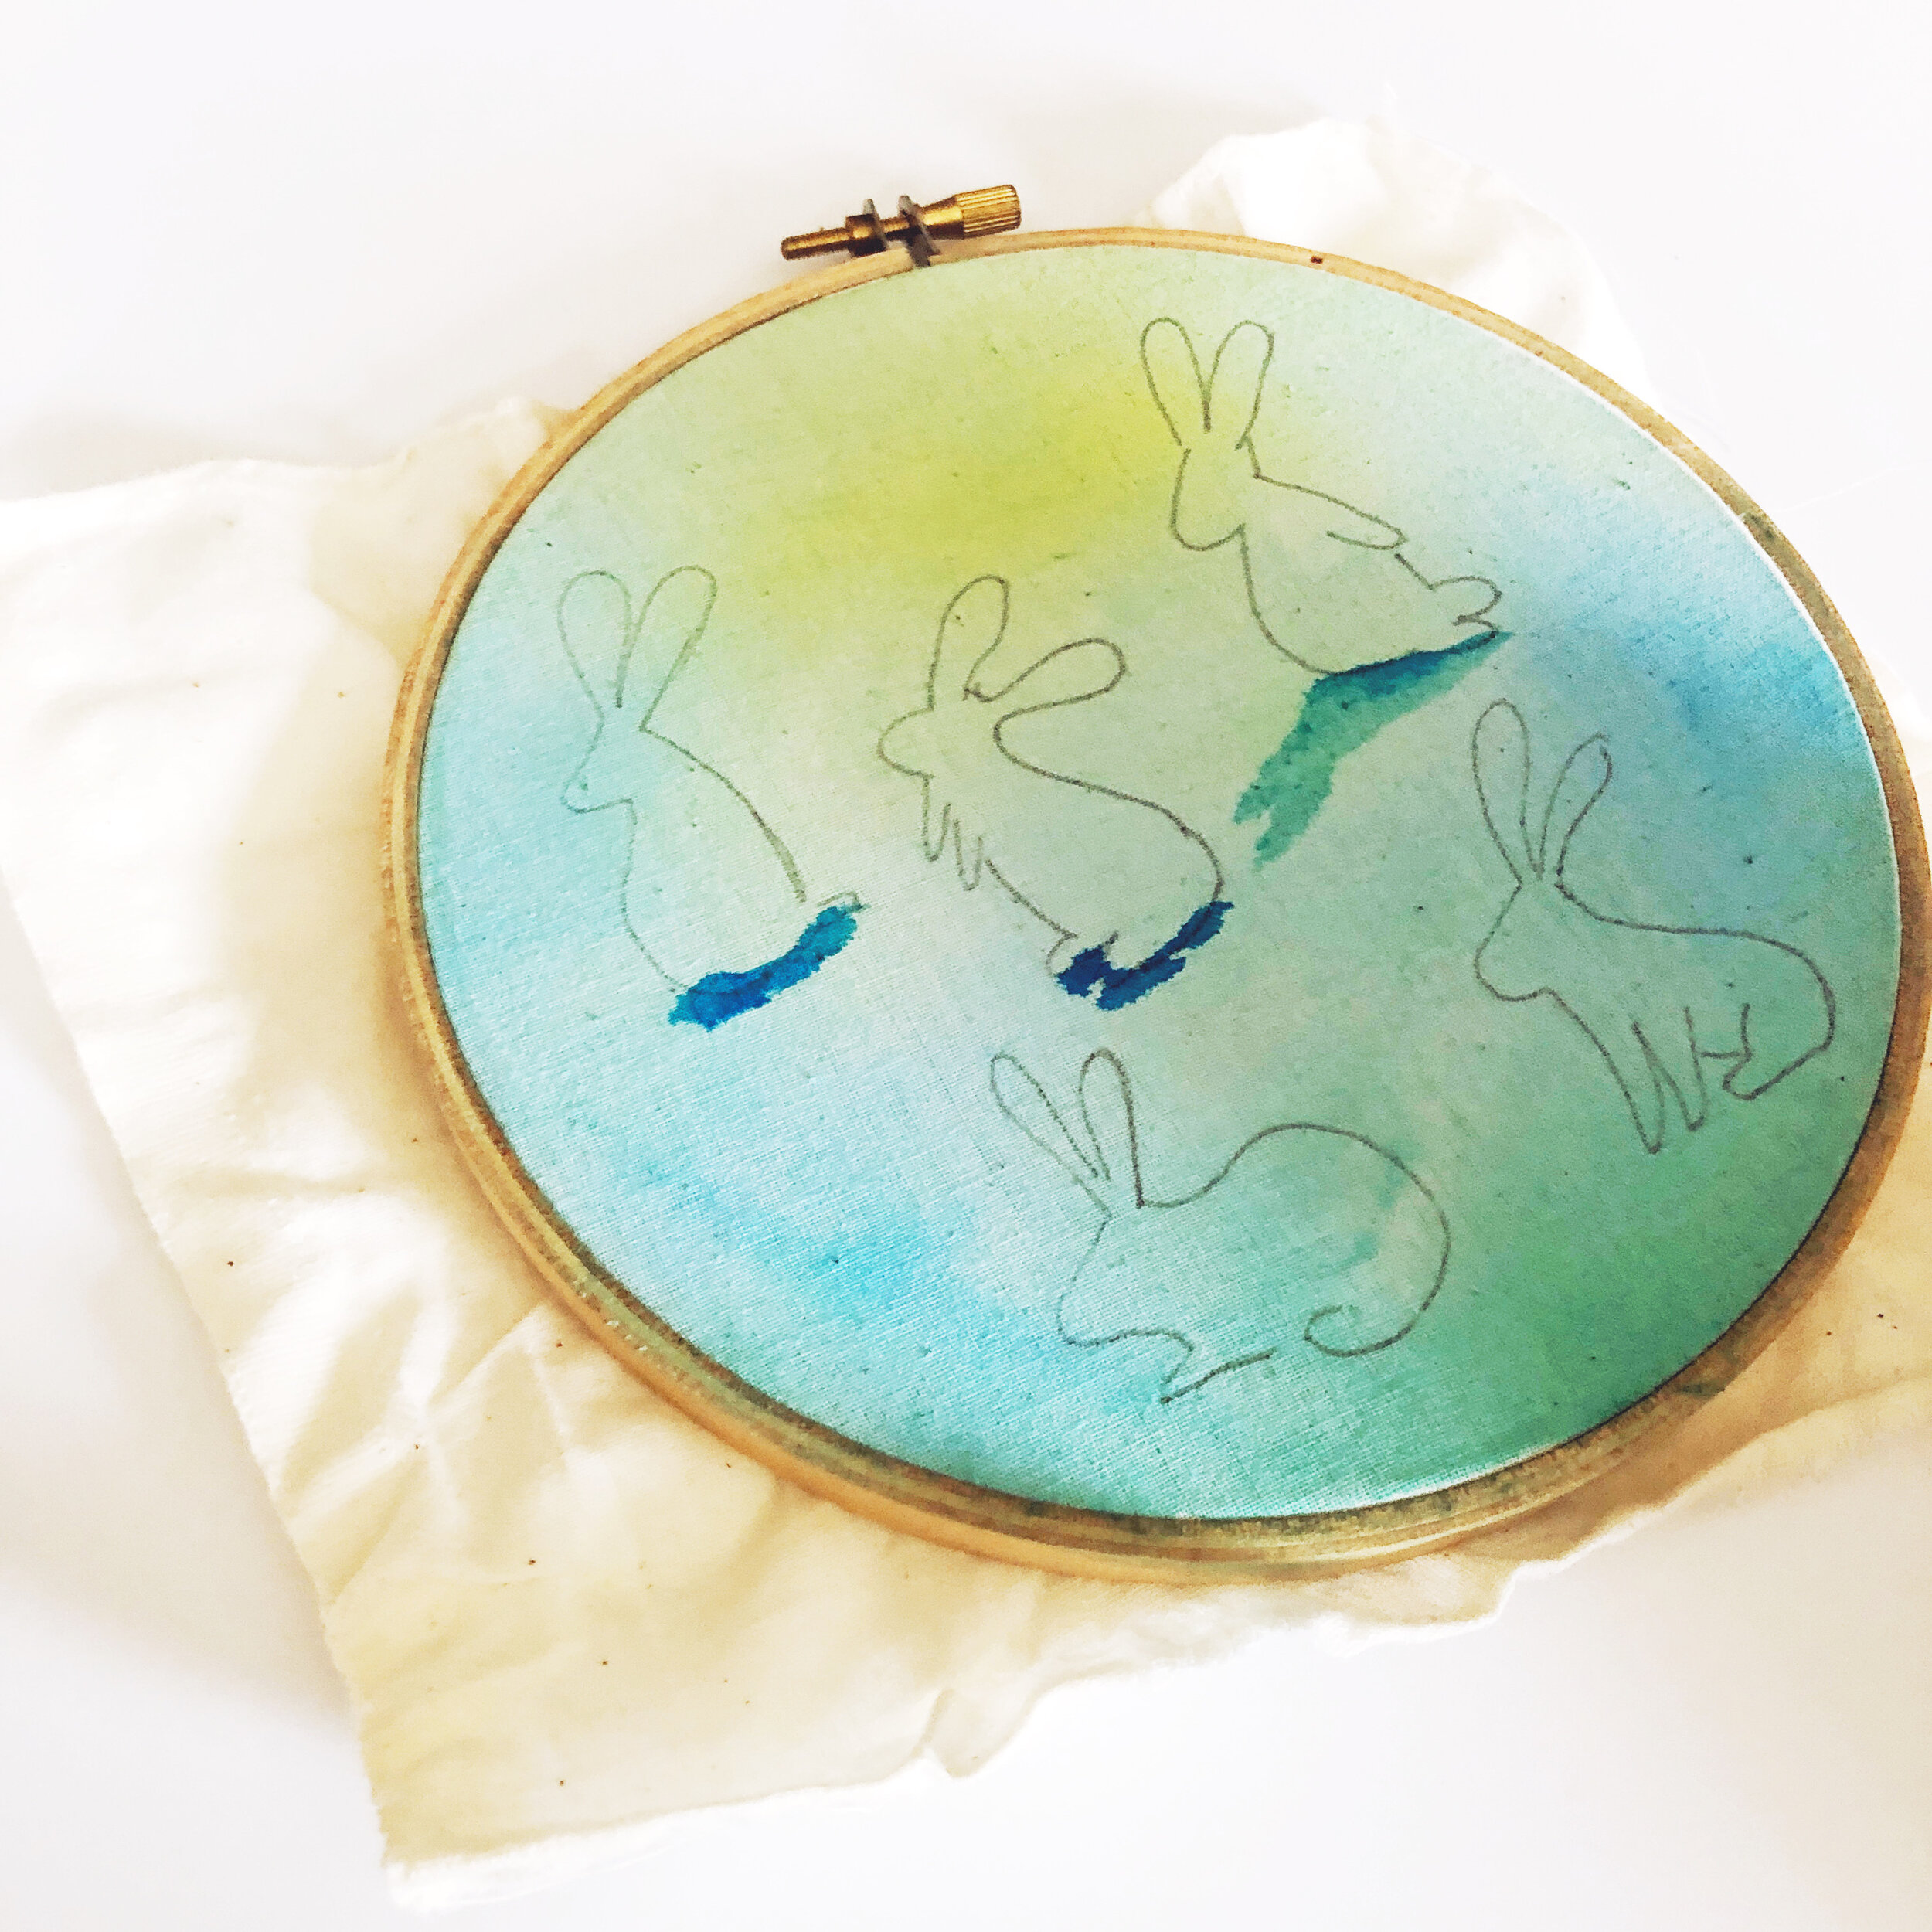
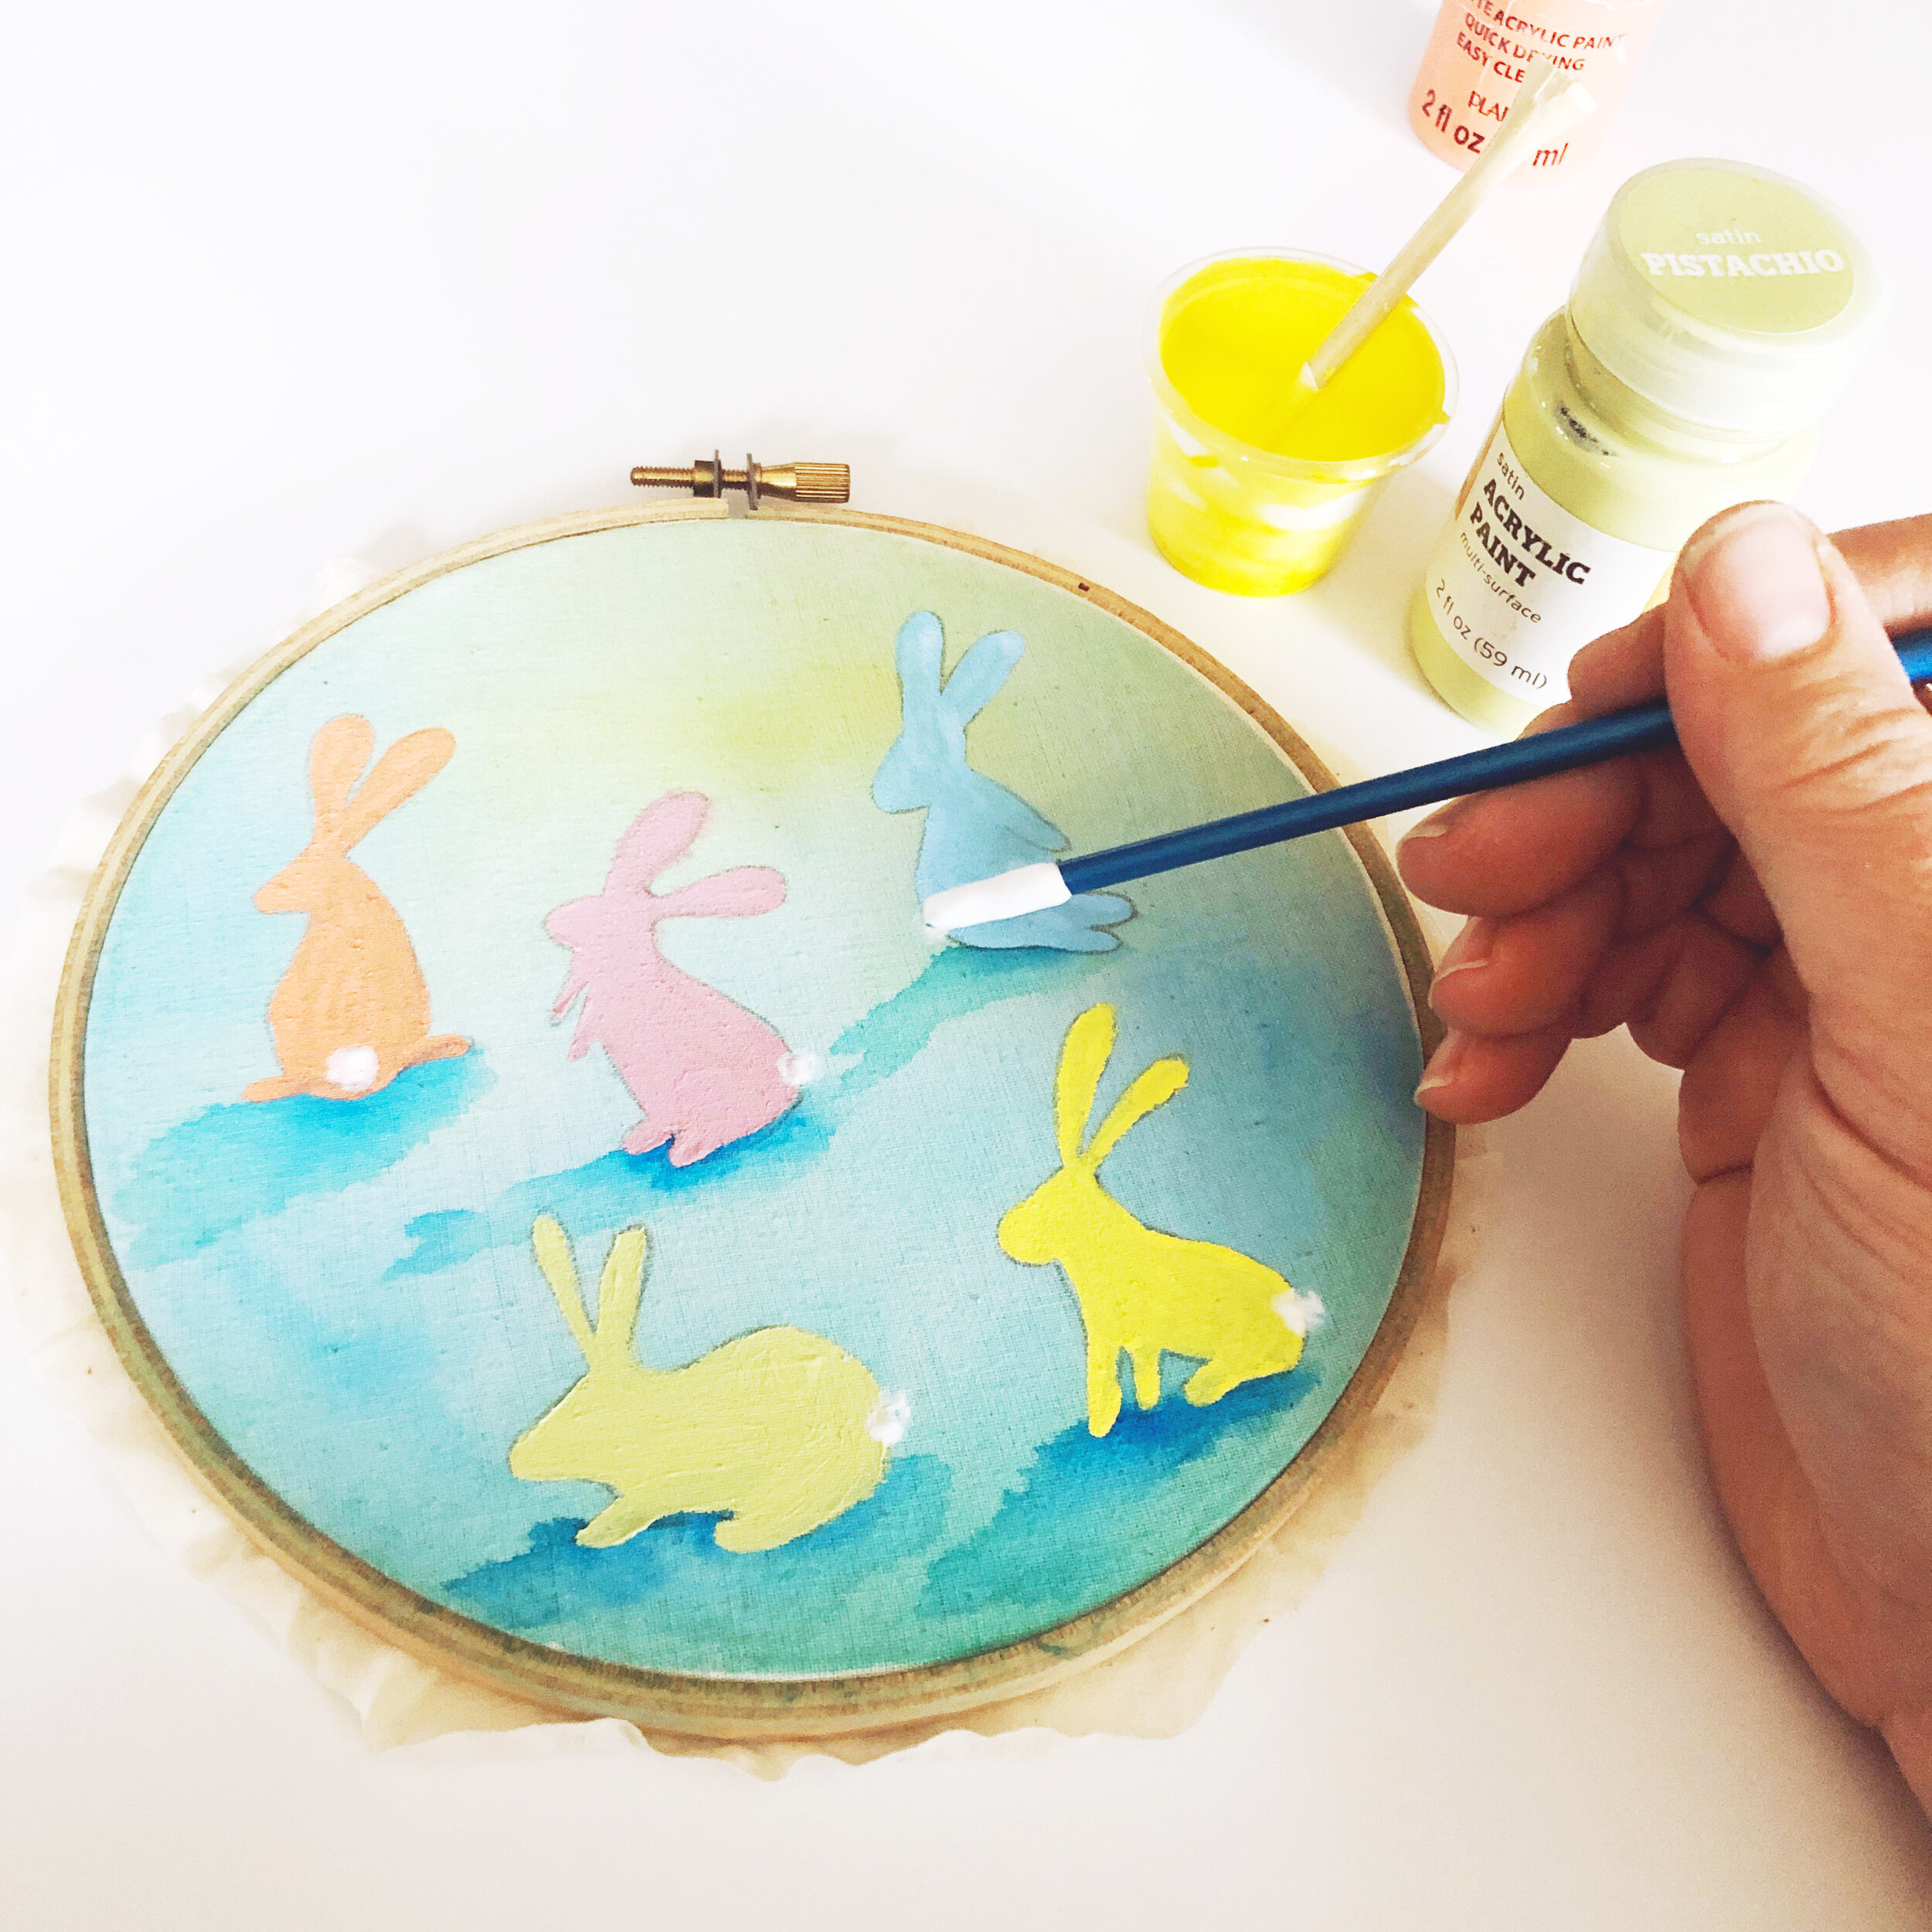
Add in your watercolor shadows. Using a wet brush get the area underneath your bunny shape(s) and slanting to the left a little wet. Place your watercolor paint (whatever color you wish) directly underneath your bunny and using more water create an ombre effect by pulling the color out away from the shape, getting lighter and lighter. Let the watercolor dry and get ready to paint in acrylic by assembling your paints and making your color choices. Will all your bunnies be the same color, or will they be different colors?

Use acrylic paint to fill in solid areas of color within your bunny shape(s). Paint slowly and carefully. Make sure to paint just over the pencil line, so it doesn’t show up in your final piece. Add lies dabs of white paint for the tails when you’re finished. Trim the excess fabric, leaving just a bit extra to wrap behind the hoop and glue with tacky craft glue or hot glue. Or, simple trim as close the the edges as possible. Leave your finished piece in the hoop to be a ready to hang frame.
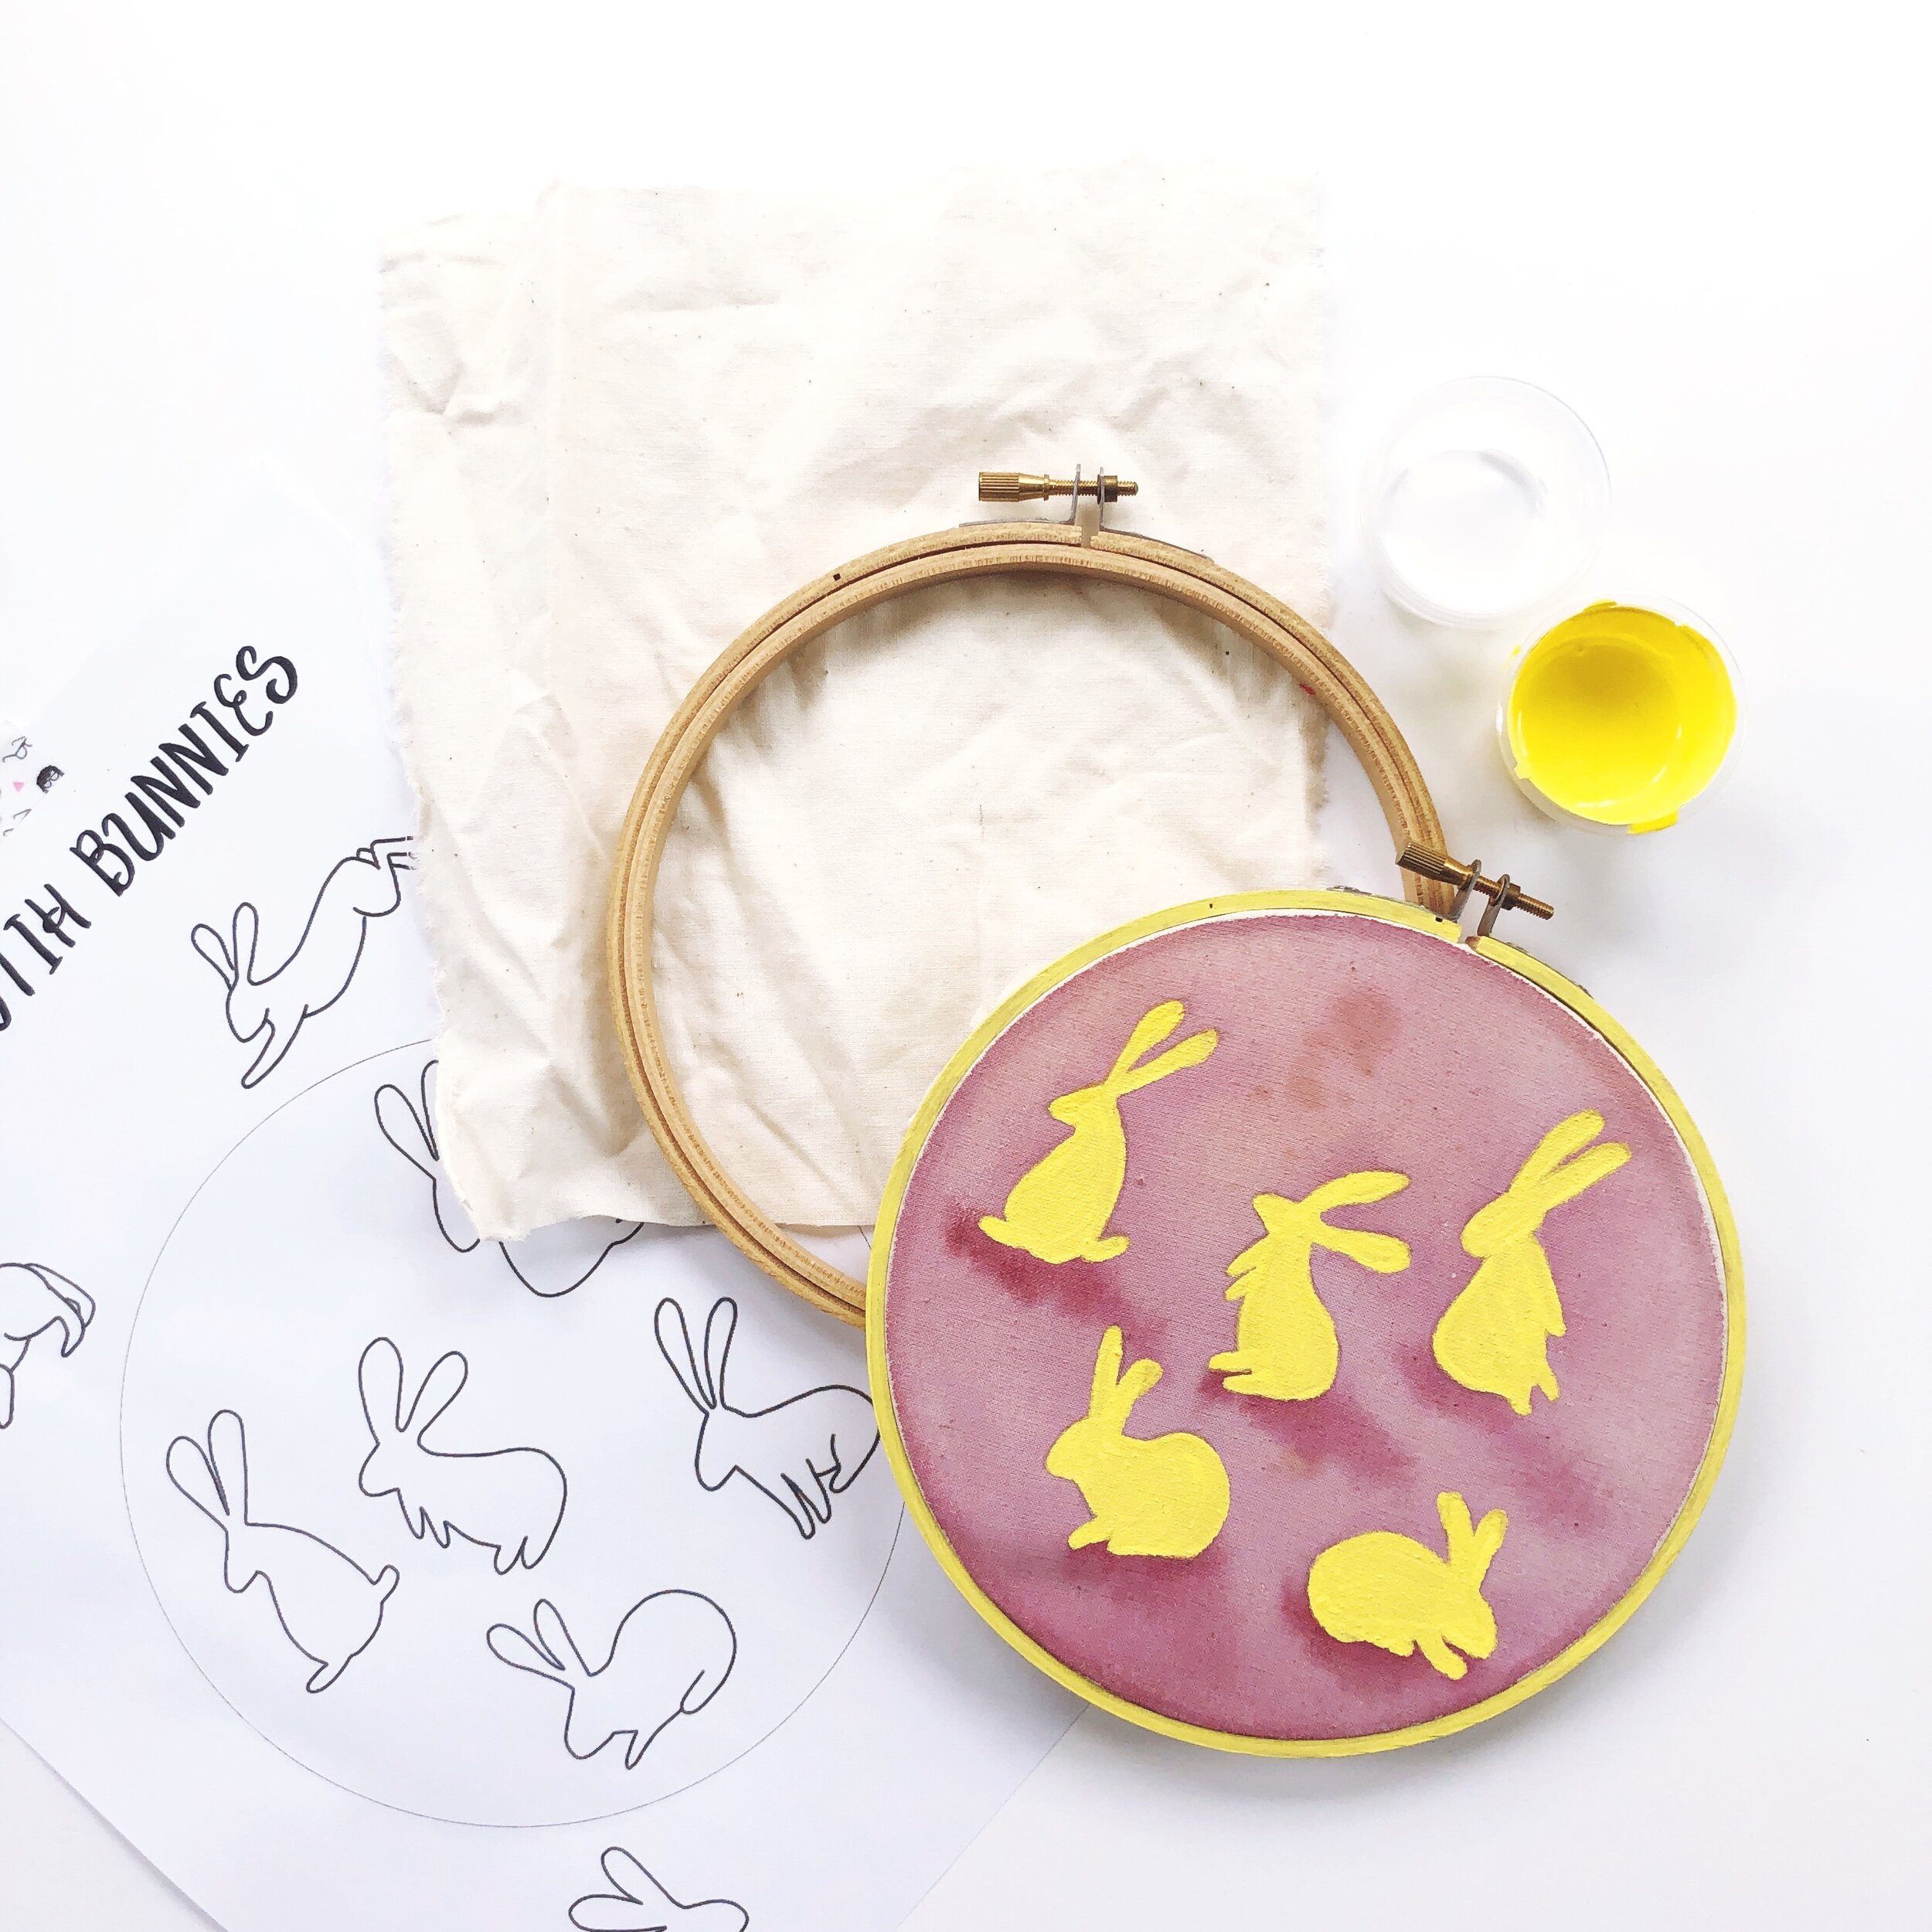
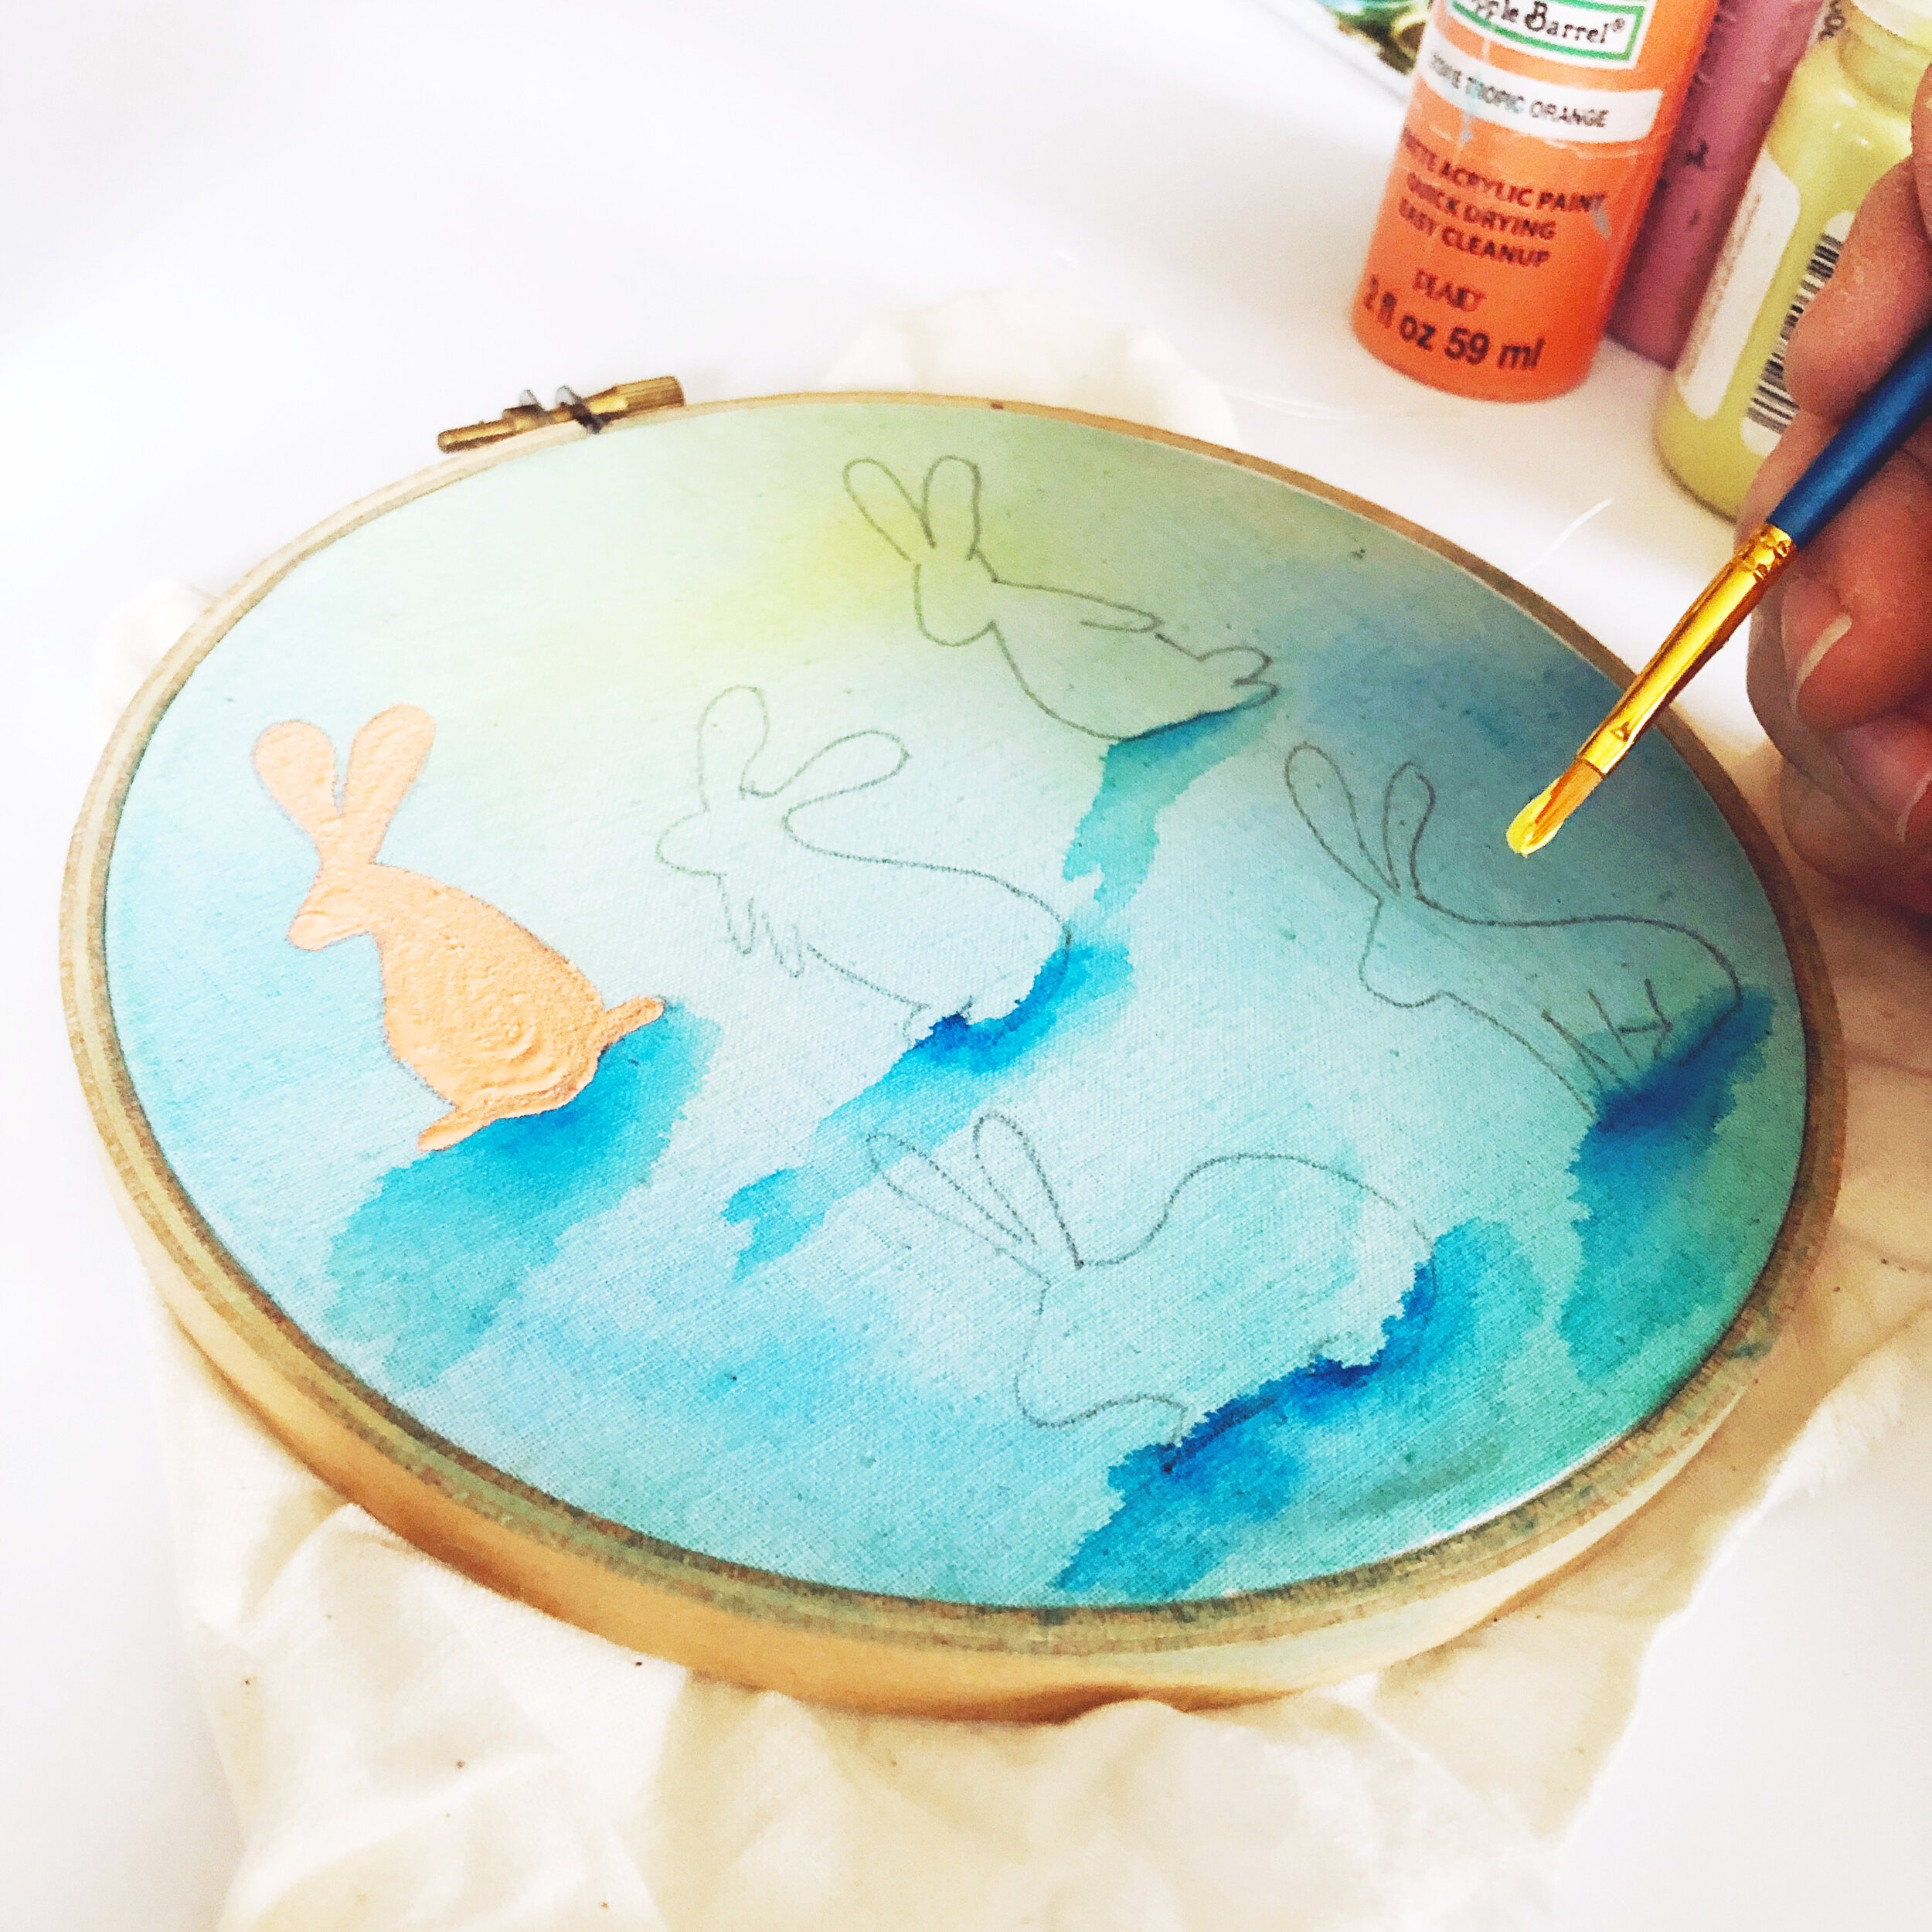

Use whatever you have around the house and adjust as you need to, or - if you’re local -look below for a link to purchase a kit that includes the hoop, fabric, white and a pastel shade of paint (only available for porch pickup). Tag me on instagram and show me how it goes!